
Most fence failures don’t happen because the fence panels were bad. They happen because the posts were installed incorrectly from the beginning.
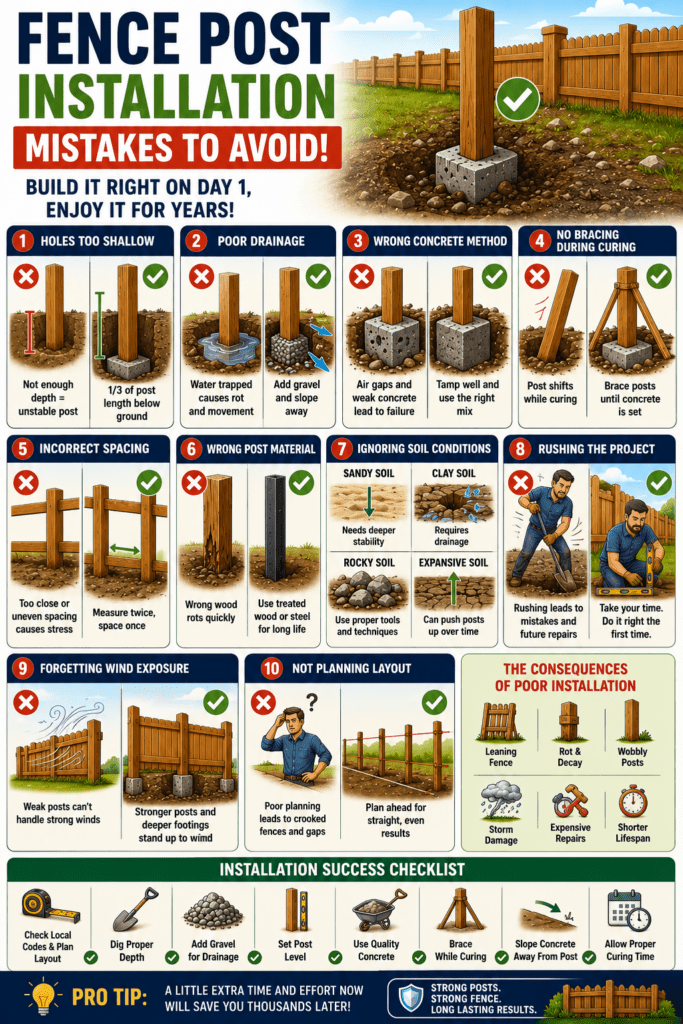
I’ve seen fences lean within a year because the holes were too shallow. I’ve seen beautiful new fences fail after storms because the concrete trapped water around the posts. And I’ve seen homeowners spend thousands replacing entire fence sections when the real problem started with one rushed installation mistake.
The frustrating part is that many fence post problems are completely preventable. A properly installed fence post can last decades. A poorly installed one may start shifting, rotting, or wobbling surprisingly fast.
This guide covers the most common fence post installation mistakes, why they happen, and how to avoid expensive repairs later.
1. Digging Holes Too Shallow
This is probably the most common fence installation mistake.
A lot of people stop digging once the hole “looks deep enough.” Unfortunately, fence posts need real underground support to resist:
- Wind
- Soil movement
- Fence tension
- Gate weight
- Seasonal moisture changes
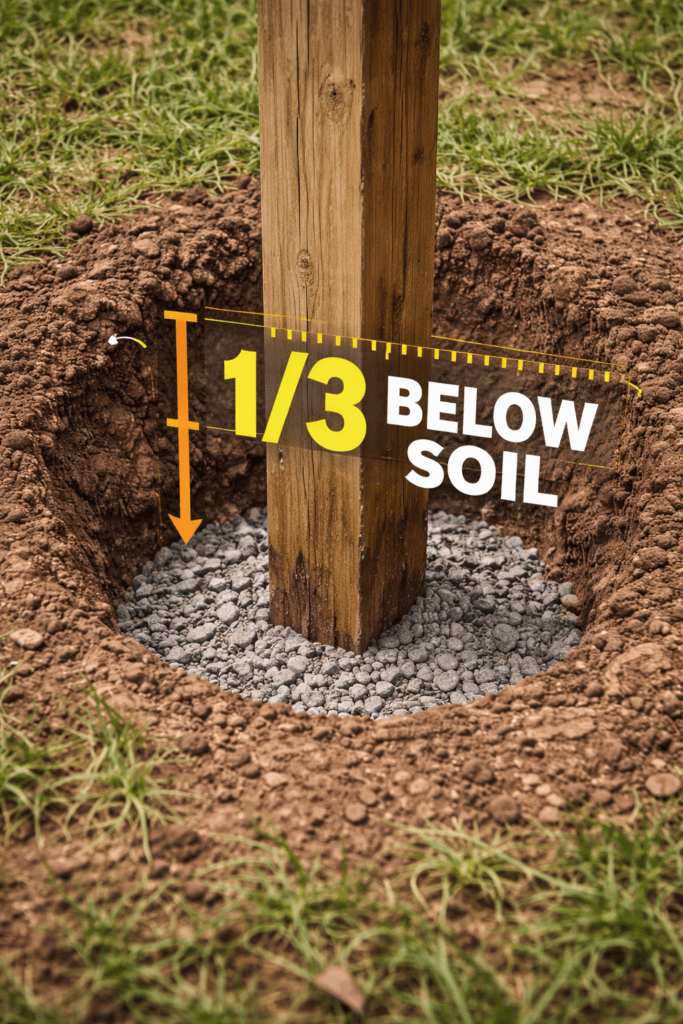
General Rule
Most fence posts should have roughly one-third of their total length underground.
Example:
- 6-foot fence = about 8-foot post
- Around 2–3 feet underground
Shallow posts often:
- Lean over time
- Shift during storms
- Pull upward in wet soil
- Fail faster around gates
Time to Complete Properly
- Digging proper depth: 20–90 minutes per hole depending on soil
Rocky terrain can make depth difficult, but shallow installation usually creates bigger long-term problems.
For difficult terrain, see:
2. Ignoring Drainage Around Posts
Water destroys more fence posts than people realize. One of the biggest installation mistakes is trapping moisture around wood posts.
This often happens when:
- Concrete is poured flat at the surface
- No gravel drainage layer exists
- Clay soil traps water
- Soil slopes toward the post
Over time, trapped moisture accelerates:
- Rot
- Freeze-thaw movement
- Concrete cracking
- Post instability
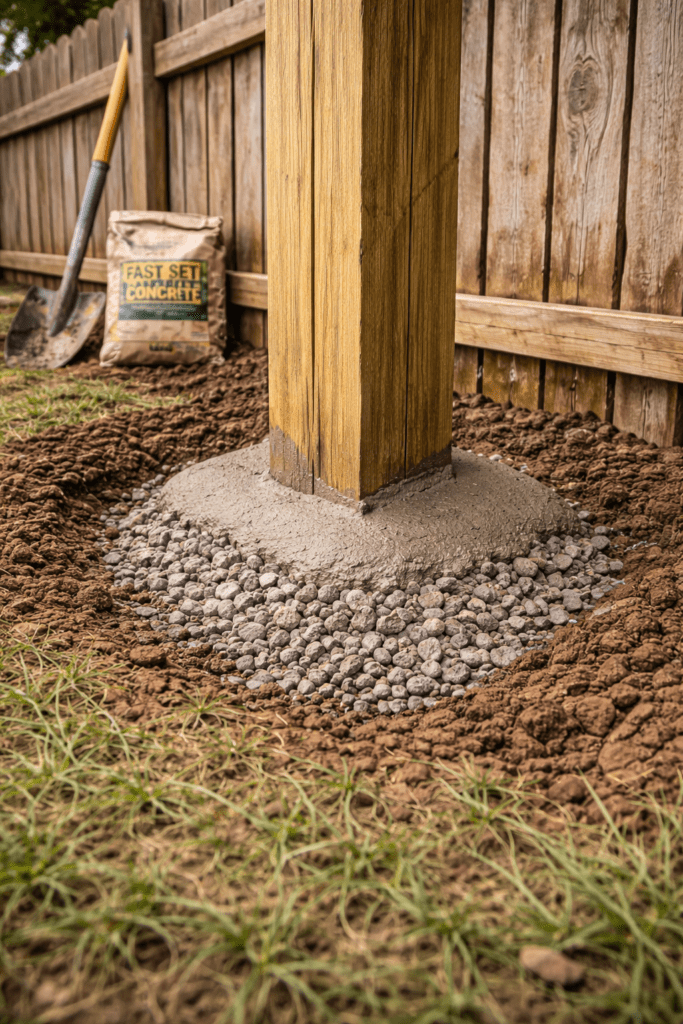
Better Approach
Use:
- 4–6 inches of gravel below the post
- Sloped concrete at the surface
- Proper drainage grading
Even pressure-treated wood eventually struggles if water constantly sits around the base.
Time to Complete Properly
- Adds about 10–20 minutes per post
That extra time can add years to fence life.
3. Using the Wrong Concrete Method
Fence installers constantly debate:
- Concrete only
- Gravel only
- Hybrid systems
The reality is that different soils require different strategies.
Common Mistakes
- Too little concrete
- Poor tamping
- Air gaps around rocks
- Concrete mixed too wet
- No drainage layer underneath
In rocky or clay-heavy soil, a hybrid system often works best:
- Gravel for drainage
- Concrete for upper stability
Risk of Rushing
Weak concrete installation often leads to:
- Wobbling posts
- Fence lean
- Cracked footings
- Premature repairs
Time to Complete Properly
- 20–40 minutes per post plus curing time
Concrete may “feel solid” quickly but still requires proper curing.
4. Not Bracing Posts During Curing
This mistake ruins more fence alignments than people expect.
Freshly set posts can shift slightly while curing — especially on:
- Slopes
- Windy properties
- Rocky terrain
- Uneven ground
Even a tiny movement can throw off:
- Fence alignment
- Gate spacing
- Panel fitment
Better Approach
Always brace posts temporarily during curing.
Simple wood braces prevent:
- Leaning
- Twisting
- Misalignment
Time to Complete Properly
- 5–15 extra minutes per post
This is one of the highest-value “small effort” improvements in fence installation.
5. Installing Fence Posts Too Close Together
Spacing errors create long-term stress on the fence structure.
Many homeowners accidentally:
- Compress panels too tightly
- Misalign rails
- Create uneven tension
This becomes especially problematic with:
- Vinyl fences
- Heavy privacy panels
- Gates
Common Problem
Trying to “force” spacing after the posts are already installed.
Better Approach
Measure carefully before digging.
Double-check:
- Panel width
- Gate clearances
- Rail dimensions
- Corner transitions
Time to Complete Properly
- 15–30 minutes of layout planning
That small planning step can prevent major reconstruction later.
6. Choosing the Wrong Post Material
Wood posts are common, but not always ideal.
Common Mistake
Using untreated or low-quality wood in:
- Wet areas
- Clay-heavy soil
- Windy properties
- Irrigated landscaping
Better Alternatives
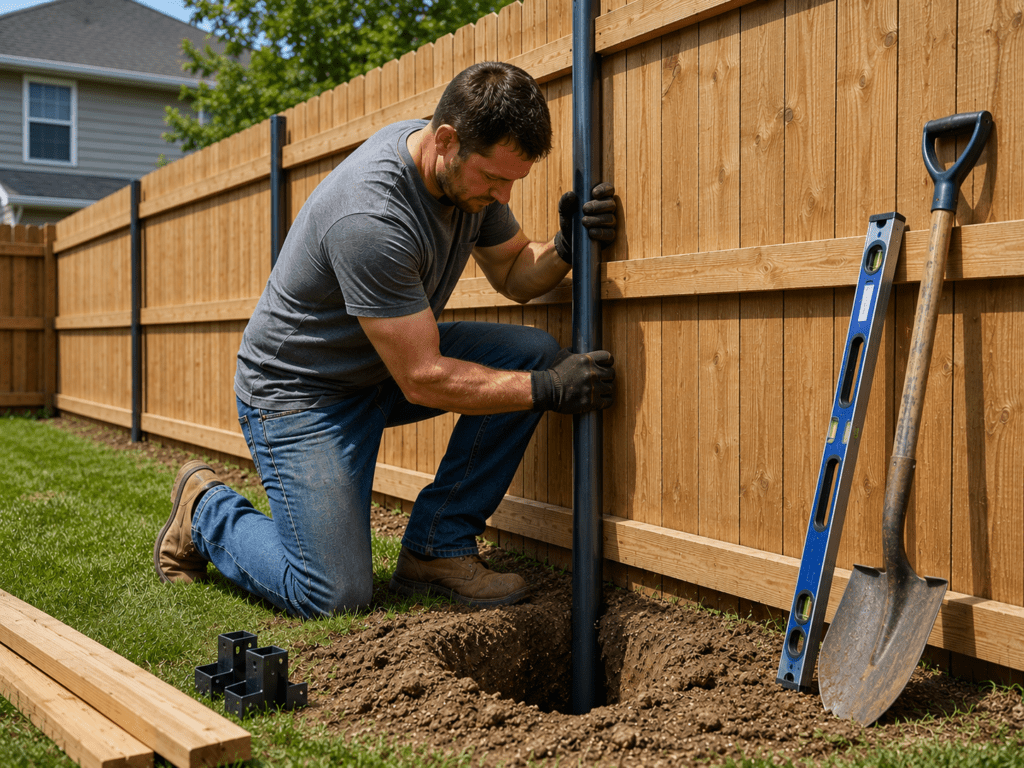
In difficult environments, consider:
- Steel posts
- Heavier pressure-treated lumber
- Galvanized brackets
Steel posts especially perform well in:
- Rocky soil
- Moisture-heavy areas
- High-wind zones
Trade-Off
Steel costs more upfront but often lasts dramatically longer.
7. Ignoring Soil Conditions
Different soil types completely change fence installation methods.
- Sandy Soil: Needs deeper stabilization.
- Clay Soil: Requires drainage planning.
- Rocky Soil: Needs specialized tools and flexible layouts.
- Expansive Soil: Can push posts upward over time.
One-size-fits-all fence installation rarely works well. This is why local soil conditions matter so much.
For more repair guidance, see:
8. Rushing the Entire Project
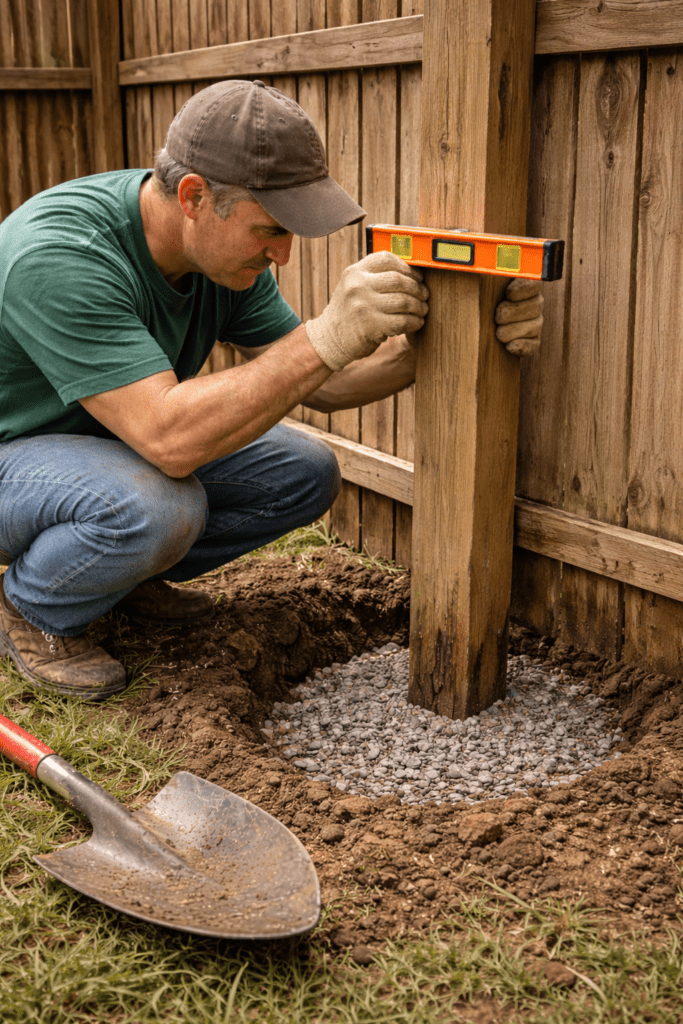
Fence installation almost always takes longer than expected.
People often underestimate:
- Digging difficulty
- Concrete curing
- Alignment adjustments
- Cleanup
- Material runs
Rushing leads to:
- Crooked posts
- Weak concrete
- Uneven fence lines
- Poor drainage
- Long-term repairs
Realistic Expectation
Good fence installations are usually methodical rather than fast.
9. Forgetting About Wind Exposure
Wind load matters far more than many homeowners realize. Tall privacy fences act like giant sails during storms.
Common wind-related mistakes:
- Shallow posts
- Weak concrete
- Thin posts
- Wide unsupported spans
This becomes especially important on:
- Hillsides
- Open lots
- Corner properties
- West-facing yards
In windy areas, stronger posts and deeper footings are worth the extra effort.
Printable Fence Installation Checklist

Before Digging
- Call utility marking service
- Check local fence codes
- Measure panel spacing carefully
- Plan drainage strategy
- Verify proper post depth
During Installation
- Add gravel below post
- Keep posts level
- Brace during curing
- Slope concrete away from post
- Double-check alignment
After Installation
- Allow proper curing time
- Inspect after first rain
- Tighten hardware
- Watch for early shifting
Helpful Products and Tools
Installation Tools
- Digging bar
- Heavy-duty post hole digger
- Rotary hammer
- Laser level
- Post braces
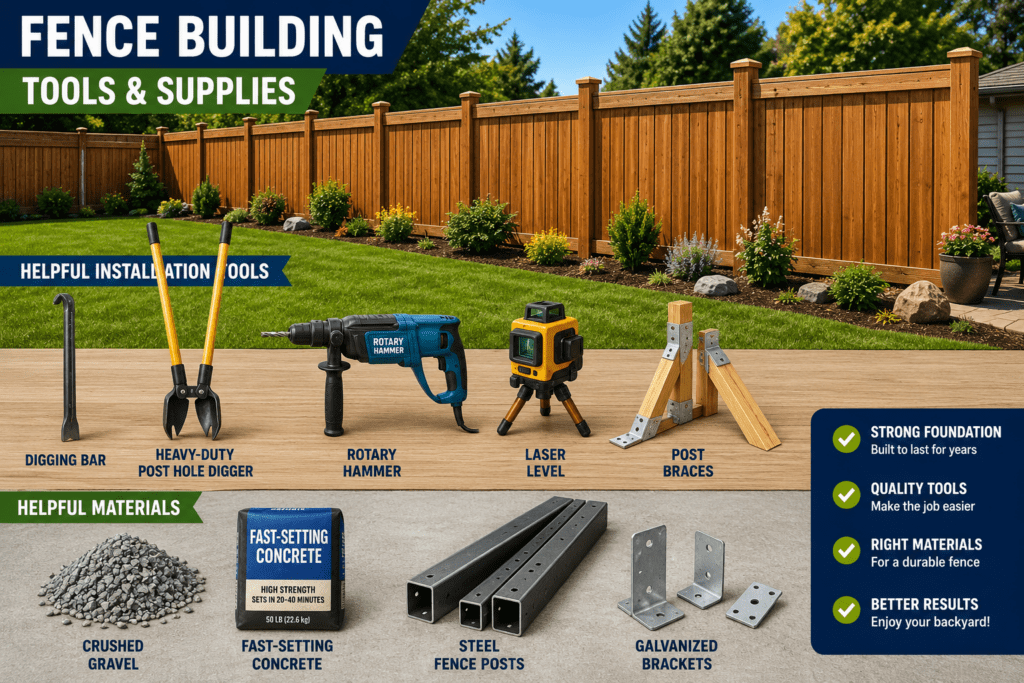
Materials
- Crushed gravel
- Fast-setting concrete
- Steel fence posts
- Galvanized brackets
These tools dramatically improve installation quality, especially in rocky or difficult soil.
Frequently Asked Questions
What is the most common fence post installation mistake?
Shallow post depth is probably the most common and damaging mistake.
Should fence posts be set in concrete or gravel?
Many installers prefer a hybrid system using gravel for drainage and concrete for upper stability.
How long should fence post concrete cure?
Most fence posts should cure at least 24–48 hours before heavy stress is applied.
Are steel fence posts better than wood?
In many conditions, yes — especially in wet, rocky, or high-wind environments.
Why do fence posts rot at the base?
Usually because water becomes trapped around the post due to poor drainage.
How do you keep fence posts straight while curing?
Temporary braces are the simplest and most effective solution.
Conclusion
Fence post installation mistakes are expensive because they often stay hidden until months or years later. The fence may look perfectly fine at first… until the first heavy storm, wet winter, or shifting soil season exposes weak installation work.
The good news is that most major fence problems are preventable. Proper depth, drainage, bracing, alignment, and realistic planning make an enormous difference in long-term fence performance.
The extra effort during installation usually saves far more time, money, and frustration later.