
If you’ve got a leaning fence post, your first instinct might be to rip it out and start over. I get it—it feels like the “right” fix. But in reality, most fence posts don’t need to be replaced. They just need to be reset properly.
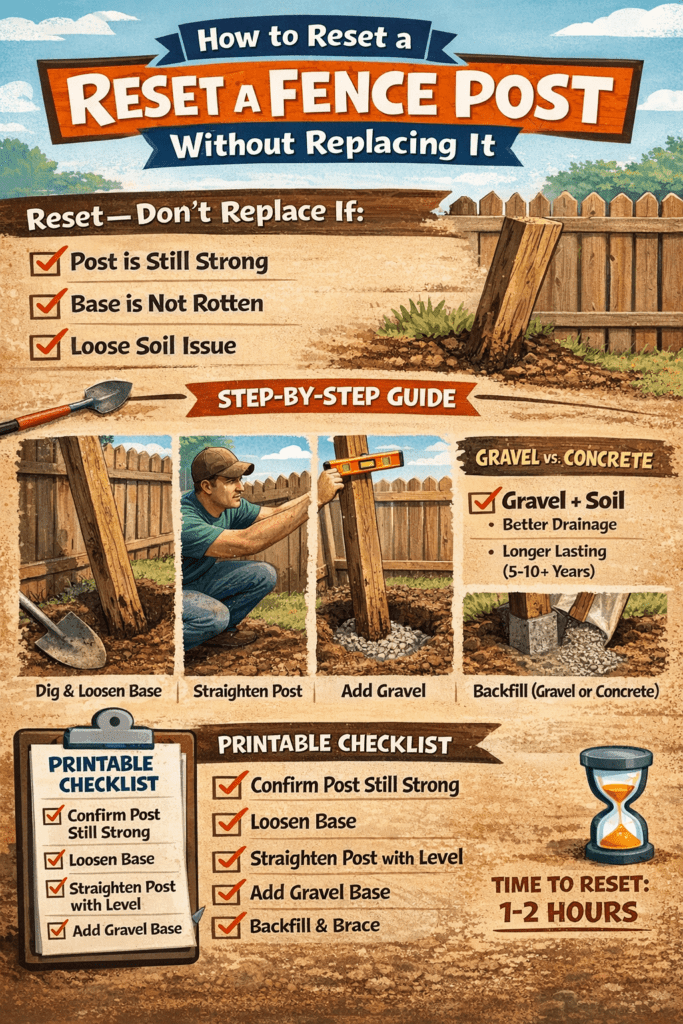
I’ve reset plenty of posts that looked like total losses but ended up solid for years afterward. The key is knowing when a reset will work—and doing it the right way so you don’t end up back in the same spot next season.
Let’s walk through exactly how to reset a fence post without replacing it, step by step.
When Resetting Works (And When It Doesn’t)
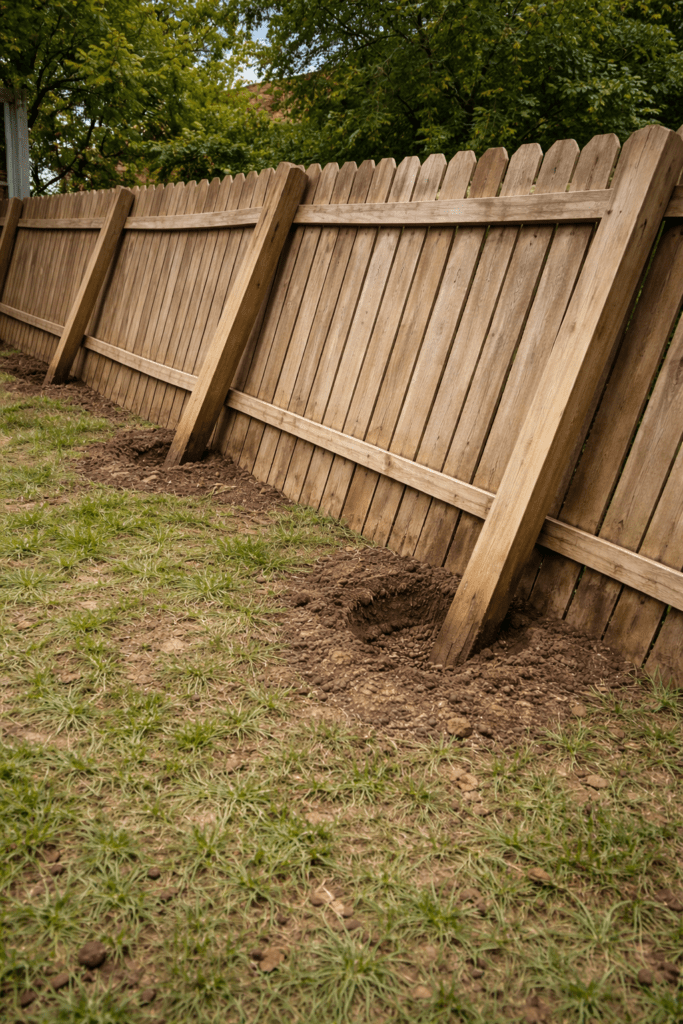
Before you grab a shovel, make sure resetting is actually the right move.
Reset the post if:
- It’s leaning but still structurally sound
- The base is not severely rotted
- The issue is loose soil or shifting ground
Don’t reset—replace instead if:
- The post is soft, crumbling, or hollow at the base
- It snaps or flexes easily above ground
- Multiple posts are failing across the fence line
👉 See: Fence Post Repair Methods Comparison
https://www.fencepostfix.com/fence-post-repair-methods/
If your post passes the test, you’re in good shape to reset it.
Tools & Materials You’ll Need
Keep it simple—no need to overcomplicate this.
Basic tools:
- Shovel or post hole digger
- Level (post level is ideal)
- Tamper or digging bar
- Drill (optional for bracing)
Materials:
- Crushed gravel (essential)
- Fast-setting concrete (optional but helpful)
- Scrap wood for bracing
👉 See: Best Fence Post Repair Kits (Budget to Pro)
https://www.fencepostfix.com/compare-fence-post-fixings/
Step-by-Step: How to Reset a Fence Post
Step 1: Loosen the Existing Base
Start by digging around the post. You want to break up the soil or old concrete holding it in place.
- Dig 6–12 inches around the post
- Remove loose dirt and debris
- If there’s old concrete, break it up with a digging bar
Time to complete: 20–40 minutes
Step 2: Straighten the Post
Once the base is loose, you can reposition the post.
- Push or pull the post until it’s vertical
- Use a level on two sides to confirm alignment
Tip: Don’t eyeball it—this is where most resets go wrong.
Time to complete: 10–15 minutes
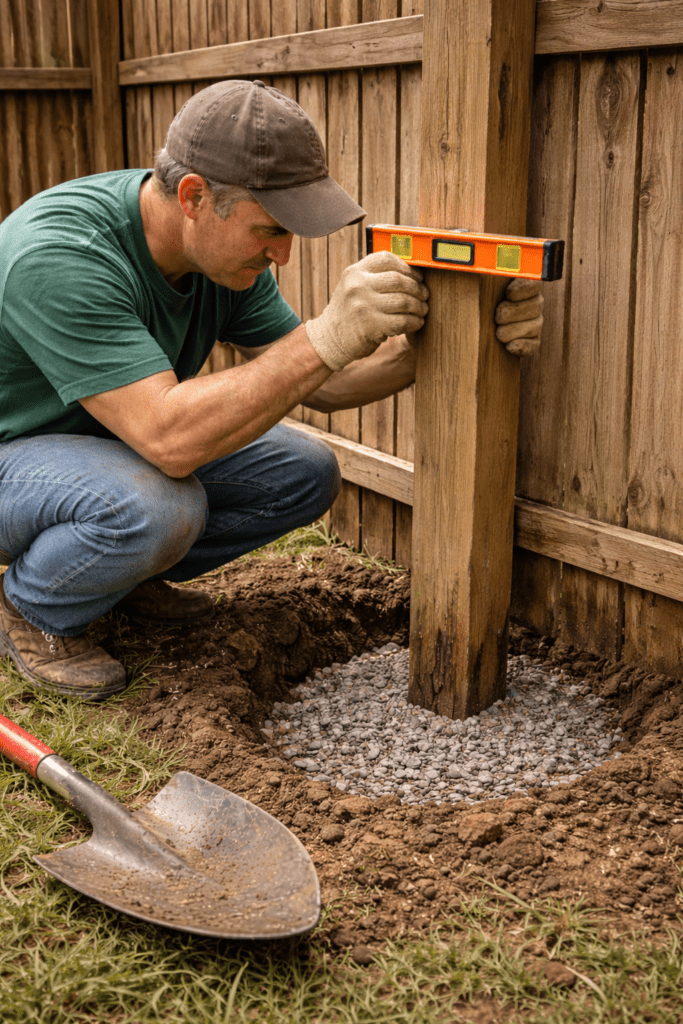
Step 3: Add a Gravel Base (Critical Step)
This is the step that separates a short-term fix from a long-term one.
- Add 2–4 inches of crushed gravel at the base
- Compact it firmly
Why this matters:
- Improves drainage
- Prevents water pooling (which causes rot)
- Adds stability
👉 See: Why Fence Posts Rot (And How to Prevent It)
https://www.fencepostfix.com/why-fence-posts-rot/
Time to complete: 10 minutes
Step 4: Backfill and Stabilize
Now you’ve got two options depending on how permanent you want the fix to be.
Option A: Gravel + Compacted Soil (Best for drainage)
- Backfill with soil in layers
- Tamp down every few inches
Option B: Concrete (Best for maximum rigidity)
- Pour fast-setting concrete around the post
- Slightly slope the top away from the post
Important: Don’t fully encase the base in concrete without drainage—it traps moisture.
Time to complete: 30–60 minutes
Step 5: Brace and Let It Set
Even if the post feels solid, give it time to settle.
- Use scrap wood to brace the post in position
- Leave braces for 12–24 hours
Time to complete: 10 minutes setup
Decision Guidance: Gravel vs Concrete
This is where people overthink it—so here’s the simple breakdown:
| Method | Best For | Lifespan | Trade-Off |
|---|---|---|---|
| Gravel + Soil | Drainage & longevity | 5–10 years | Slightly less rigid |
| Concrete | Maximum strength | 5–10 years | Higher rot risk if done wrong |
If you’re in heavy clay soil, I lean toward gravel + soil for better drainage.
Realistic Expectations
Let’s be honest—resetting isn’t magic.
- A properly reset post can last 5–10 years
- If the wood is already aging, expect less
- Soil conditions play a huge role
- You may need to re-tamp or adjust after heavy rain
If you’re resetting multiple posts every year, that’s a sign the original installation was flawed.
Printable Fence Post Reset Checklist

Before You Start:
- Confirm post is not rotted
- Check surrounding posts
- Gather tools and materials
During Reset:
- Dig out base
- Straighten post with level
- Add gravel base
- Backfill and compact
After Reset:
- Brace post for 12–24 hours
- Re-check alignment after rain
Product Recommendations
- Fast-setting concrete mix (for quicker installs)
- Crushed gravel (¾” works well)
- Post level tool (saves time and frustration)
👉 See: Best Fence Post Repair Kits (Budget to Pro)
https://www.fencepostfix.com/compare-fence-post-fixings/
Frequently Asked Questions
Can I reset a fence post without digging it out completely?
Yes. In most cases, loosening the base and repositioning the post is enough—you don’t need to fully remove it.
How deep should I dig when resetting a post?
Typically 6–12 inches around the post is enough to loosen and reposition it.
Is gravel better than concrete for fence posts?
Gravel is better for drainage, which helps prevent rot. Concrete provides more rigidity but can trap moisture if not installed correctly.
How long does it take to reset a fence post?
Most posts can be reset in 1–2 hours, plus bracing time.
Will resetting fix a wobbly fence permanently?
It can—but only if the post isn’t rotted and the base is rebuilt correctly.
Resources for More Information
- International Society of Arboriculture (ISA): https://www.isa-arbor.com
- U.S. Consumer Product Safety Commission (CPSC): https://www.cpsc.gov
- Family Handyman Fence Repair Guides: https://www.familyhandyman.com
Conclusion
Resetting a fence post without replacing it is one of those jobs that looks harder than it is—but only if you follow the right process.
The biggest takeaway:
Focus on the base. That’s where failures happen, and that’s where a proper reset makes all the difference.
Do it right—with drainage, compaction, and alignment—and you’ll get years of solid performance without the hassle of full replacement.