
If there’s one type of fence failure that frustrates people the most, it’s a sagging or leaning gate. And after working through dozens of these situations, I can tell you this—it’s almost never the gate that’s the problem. It’s the post.
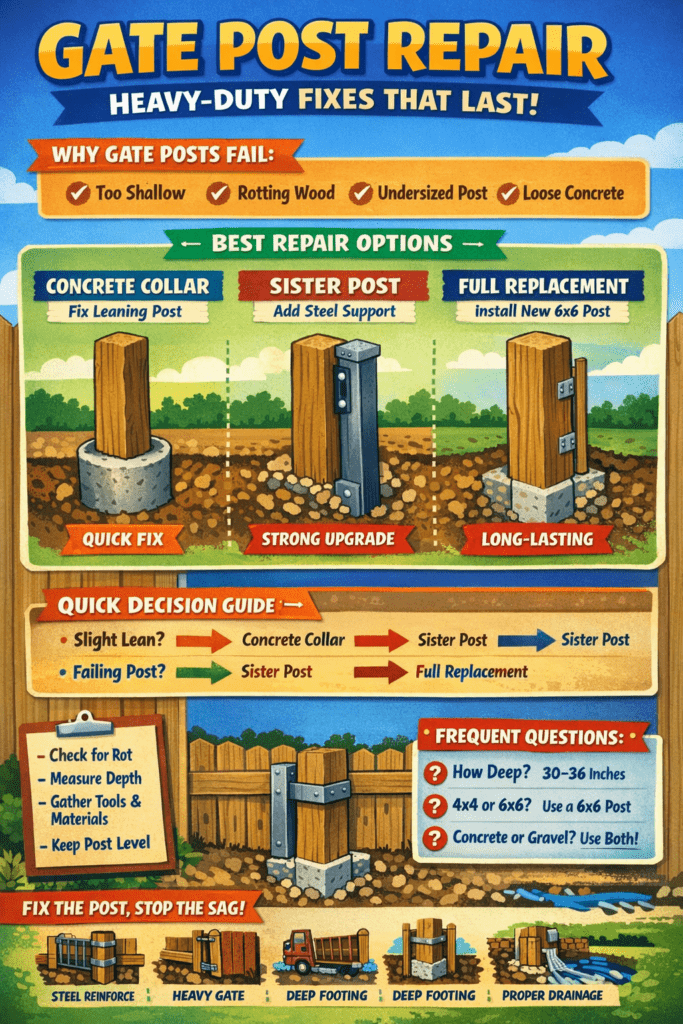
A standard fence post might hold up a panel just fine, but a gate post? That’s carrying constant dynamic load—weight, movement, wind, and torque every time it opens and closes. If it wasn’t installed correctly the first time, it’s only a matter of time before it fails.
The good news is you don’t always have to start from scratch. But you do need to fix it the right way, or you’ll be revisiting the same issue in a few months.
Why Gate Posts Fail (And Keep Failing)
Before jumping into repair options, it’s worth understanding what went wrong:
- Undersized post (4×4 trying to hold a heavy wood gate)
- Shallow footing (less than 24 inches)
- Poor drainage causing rot or shifting
- No lateral support against the gate’s pull
- Concrete poured incorrectly (or not at all)
A gate acts like a lever. Every time it swings, it’s applying force at the top of the post. That torque is what loosens soil, cracks concrete, or slowly tilts the post over time.
The 3 Best Heavy-Duty Gate Post Repairs
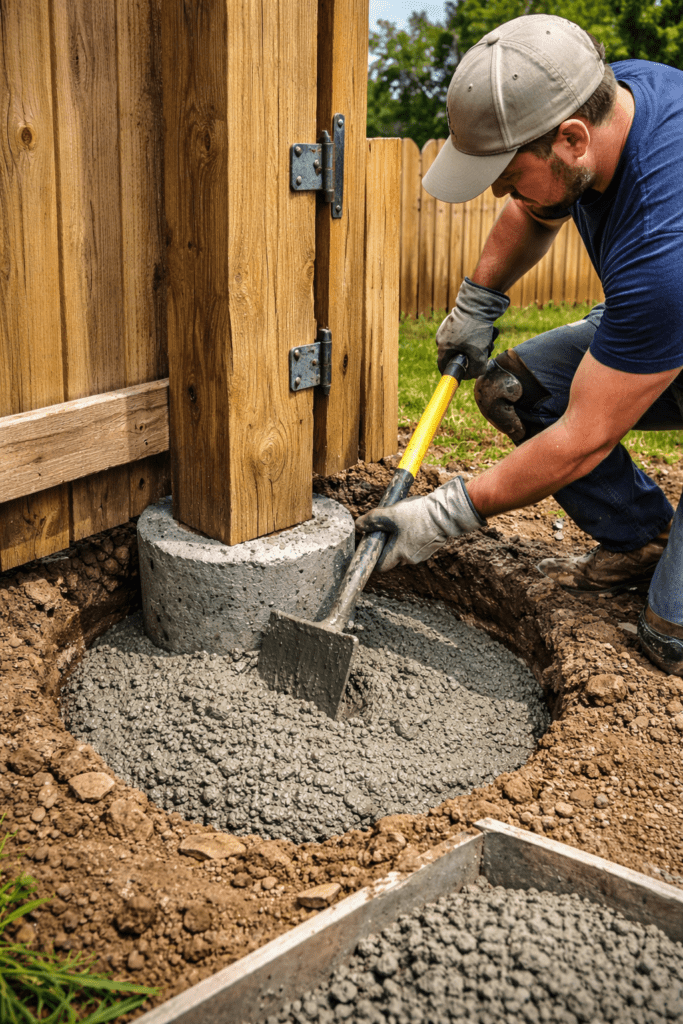
1. Reinforce With a Concrete Collar (Best for Mild Lean)
When to use it:
- Post is slightly leaning
- Wood is still solid (no rot at base)
- Existing footing is weak or undersized
How it works:
You dig around the existing post (8–12 inches out), straighten it, and pour a new, wider concrete collar around the base.
Why it works:
You’re increasing the post’s resistance to lateral movement—basically giving it a bigger “anchor.”
Time to complete: 2–4 hours + 24–48 hours cure time
Trade-offs:
- Quick and relatively inexpensive
- Doesn’t fix deep rot or severely loose posts
- Can crack if drainage is poor
👉 For a deeper walkthrough, see How to Reset a Fence Post without Replacing it
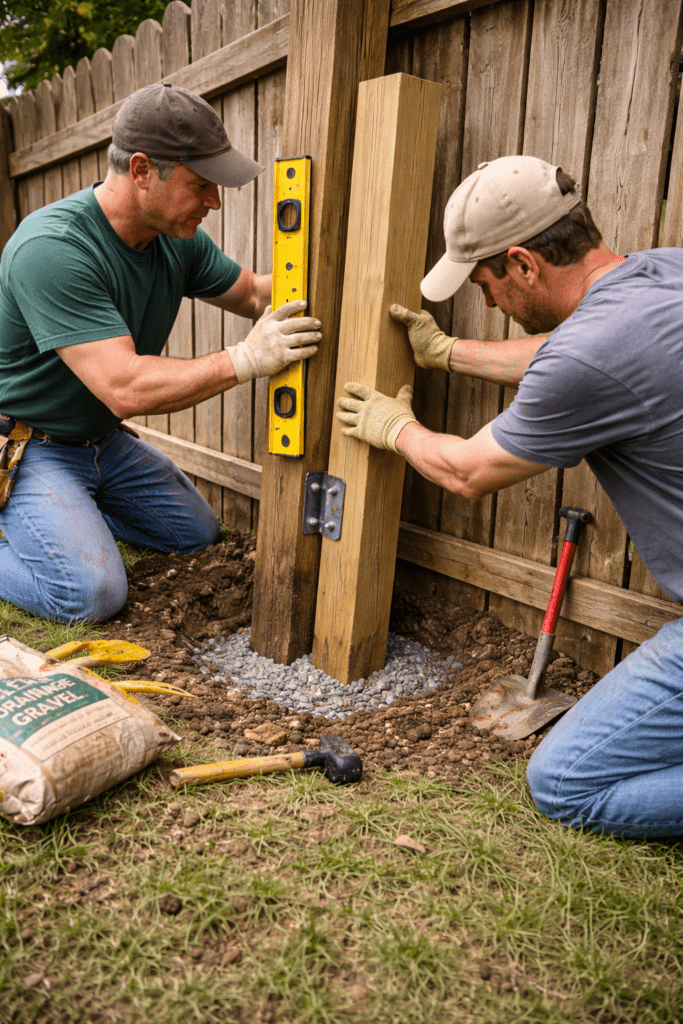
2. Sister Post Reinforcement (Best Structural Upgrade)
When to use it:
- Post is failing but still usable
- Gate is heavy (wood, metal, wide span)
- You want a long-term fix without full replacement
How it works:
You install a new post (wood or steel) directly next to the existing one and secure them together.
Pro tip: Use a steel post for maximum durability—even if your fence is wood.
Why it works:
You’re transferring the load from a weak post to a stronger one without removing the original.
Time to complete: 3–5 hours
Trade-offs:
- Slightly more visible
- Requires precise alignment
- Much stronger than a simple reset
3. Full Post Replacement (Best Long-Term Fix)
When to use it:
- Post is rotted, cracked, or severely leaning
- Footing is completely compromised
- Gate is large/heavy (double gate, driveway gate)
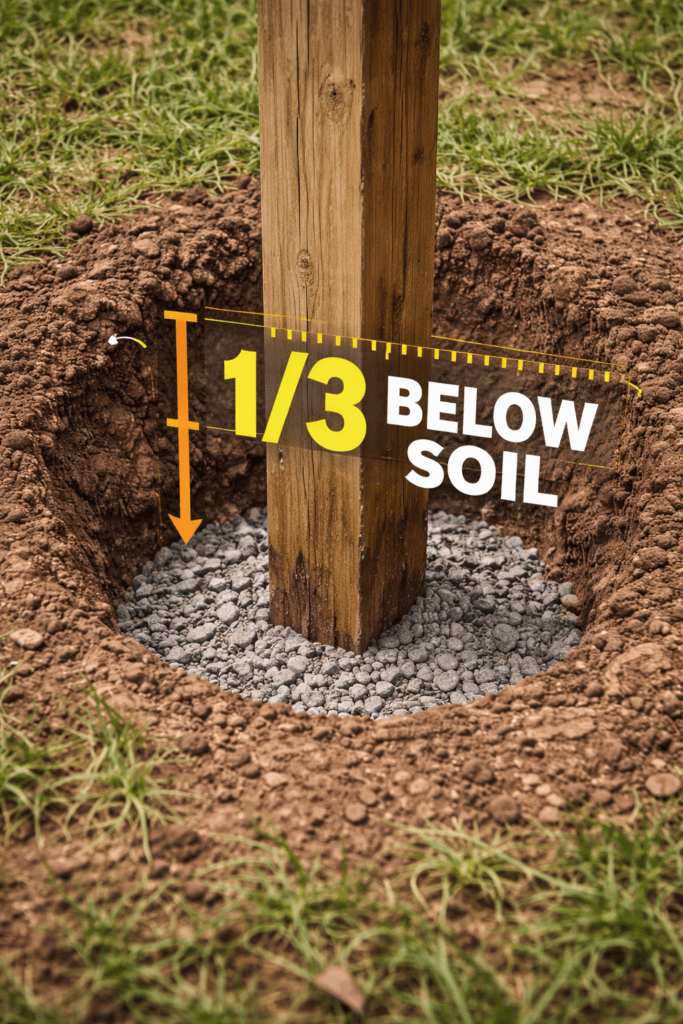
How it works:
Remove the old post and install a new one correctly:
- Use a 6×6 post minimum
- Dig 30–36 inches deep
- Add gravel base for drainage
- Set in concrete with proper slope away from post
Why it works:
You’re eliminating all weak points and starting fresh with a properly engineered setup.
Time to complete: 4–6 hours
Trade-offs:
- Most labor-intensive option
- Requires removing gate temporarily
- Strongest and most permanent solution
Choosing the Right Fix (Quick Decision Guide)
- Slight lean, solid wood → Concrete collar
- Moderate failure, want strength → Sister post
- Rot, major lean, heavy gate → Full replacement
Don’t overthink this—but don’t underbuild it either. Gate posts are one place where “good enough” usually isn’t. Also see: Best Way to Repair a Fence Post
Printable Checklist: Gate Post Repair

Before You Start:
- ☐ Check for rot at base of post
- ☐ Measure lean angle and direction
- ☐ Inspect existing footing
- ☐ Determine gate weight and width
Materials:
- ☐ Concrete mix
- ☐ Gravel (drainage base)
- ☐ Level + braces
- ☐ Lag bolts or structural screws
- ☐ Replacement or sister post (if needed)
During Repair:
- ☐ Keep post perfectly plumb (level on 2 sides)
- ☐ Brace securely before pouring concrete
- ☐ Slope concrete away from post
- ☐ Allow proper cure time before rehanging gate
Product Recommendations
- Heavy-duty steel post systems for reinforcement
- High-strength fast-setting concrete mixes
- Adjustable gate hinge kits to fine-tune alignment
- Post repair brackets for temporary stabilization
Frequently Asked Questions
How deep should a gate post be set?
At least 30 inches, but 36 inches is better for heavy gates or softer soil. Anything less is asking for movement over time.
Is a 4×4 strong enough for a gate post?
For lightweight gates, maybe. For anything substantial, go with a 6×6 or reinforce with steel.
Should I use concrete or gravel?
Use both—gravel for drainage at the base, concrete for stability. Skipping either one reduces lifespan.
Can I fix a leaning post without removing it?
Yes, if the wood is still solid. A concrete collar or sister post can extend life significantly.
Why does my gate keep sagging after adjustments?
Because the post is moving—not the hinges. Fix the post, and the sagging usually disappears.
Resources
- International Association of Certified Home Inspectors (InterNACHI) – https://www.nachi.org
- U.S. Consumer Product Safety Commission – https://www.cpsc.gov
- University of California Agriculture & Natural Resources – https://ucanr.edu
Final Take
If you take one thing from this, it’s this: a gate post isn’t just another post—it’s a structural anchor.
Quick fixes might get things looking straight again, but if you don’t address the load and leverage forces, you’ll be back out there adjusting hinges and lifting gates before long.
Put your effort into the post now—whether that’s reinforcing or replacing—and you’ll save yourself a lot of repeat work later.