
If you’ve ever pulled out a rotted fence post, you already know where the failure starts—right at ground level. I’ve repaired enough fences to tell you this: the part you don’t see (below ground) is what determines how long your fence lasts.
So the question comes up all the time—should you seal fence posts before installing them?
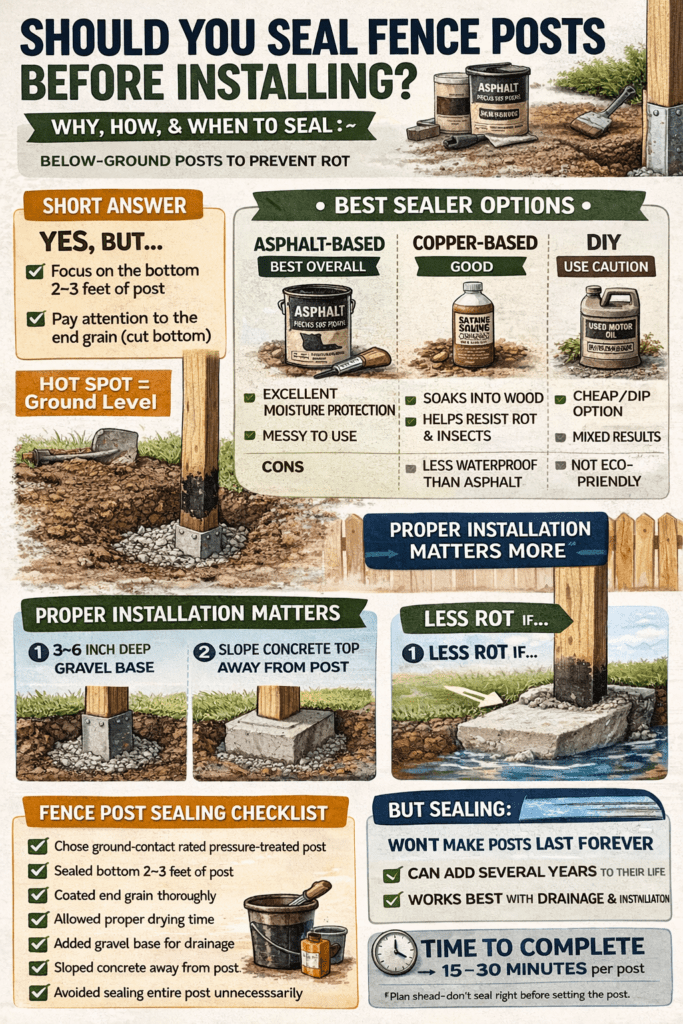
Short answer: Yes, in most cases—but how you do it matters more than whether you do it.
Let’s walk through what actually works, what’s a waste of time, and how to get the most life out of your posts.
Why Fence Posts Rot in the First Place
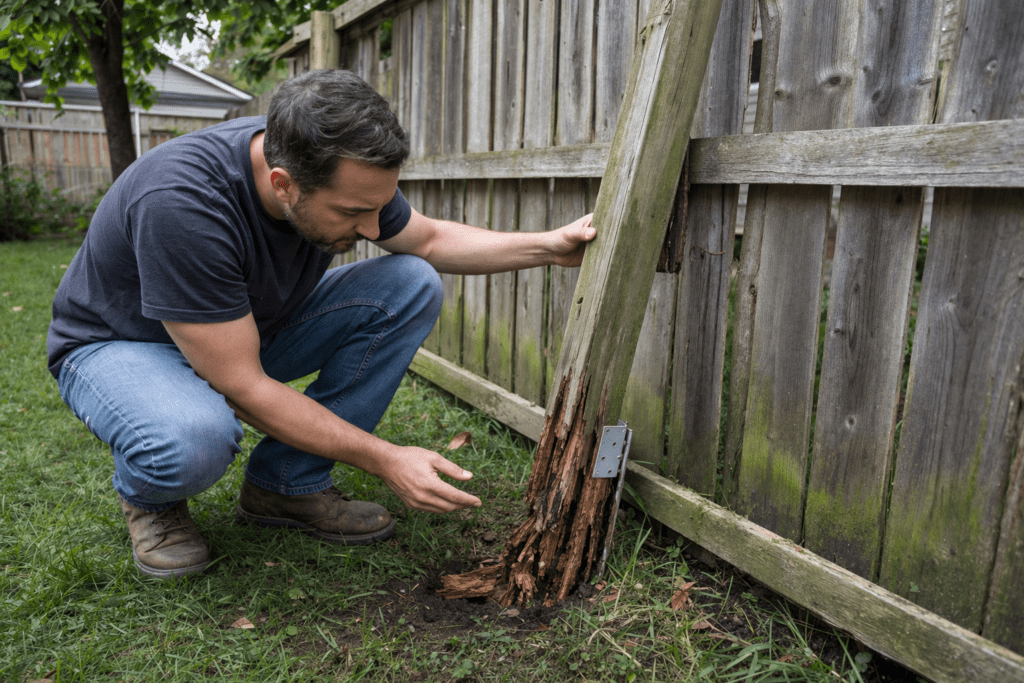
Before sealing even enters the picture, you need to understand the real problem:
- Moisture gets trapped in soil or concrete
- Wood stays damp for long periods
- Fungi break down the wood fibers
The worst zone is:
👉 Right at ground level (the “rot zone”)
That’s where sealing can make a real difference—if done correctly.
Should You Seal Fence Posts? (The Real Answer)
Yes—But Focus on the Bottom 2–3 Feet
You don’t need to seal the entire post. In fact, most failures happen because people either:
- Don’t seal at all
- Or seal the wrong way
What actually works:
- Seal the bottom 2–3 feet of the post
- Pay extra attention to the end grain (the cut bottom)
What Type of Sealer Works Best?
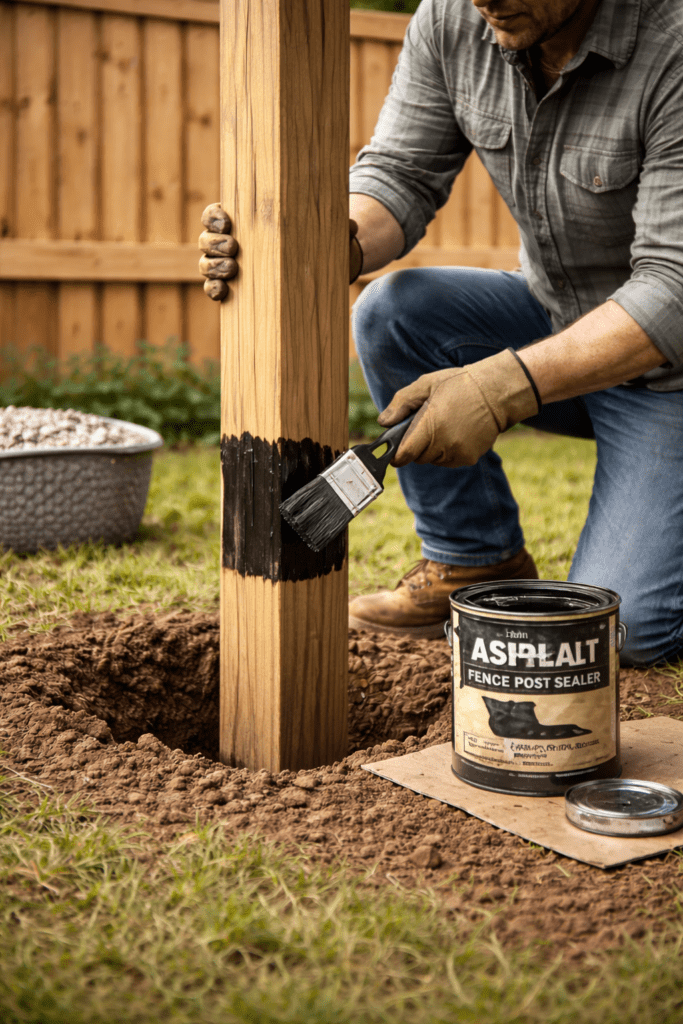
1. Asphalt-Based Fence Post Sealer
- Thick, tar-like coating
- Designed specifically for ground contact
Pros
- Excellent moisture barrier
- Long-lasting protection
Cons
- Messy to apply
- Needs drying time
2. Copper-Based Wood Preservatives
- Soaks into wood fibers
Pros
- Penetrates deeply
- Helps resist rot and insects
Cons
- Less waterproof than asphalt coatings
3. DIY Options (Use with Caution)
- Used motor oil (old-school method)
- Waterproof wood sealers
These can work—but they’re inconsistent and sometimes not environmentally friendly.
When Sealing Helps Most
Sealing makes the biggest difference in:
- Wet or clay-heavy soil (common in Northern California)
- Posts set in concrete (traps moisture)
- Areas with irrigation or frequent watering
👉 If you’re dealing with moisture issues, read this:
https://www.fencepostfix.com/fixing-fence-posts-in-sandy-soil/
When Sealing Doesn’t Matter as Much
There are a few cases where sealing is less critical:
- Using pressure-treated posts rated for ground contact
- Installing with post anchors (keeps wood off soil entirely)
👉 See alternative methods:
https://www.fencepostfix.com/fence-post-repair-methods/
Better Than Sealing: Smart Installation
Here’s the truth most people miss:
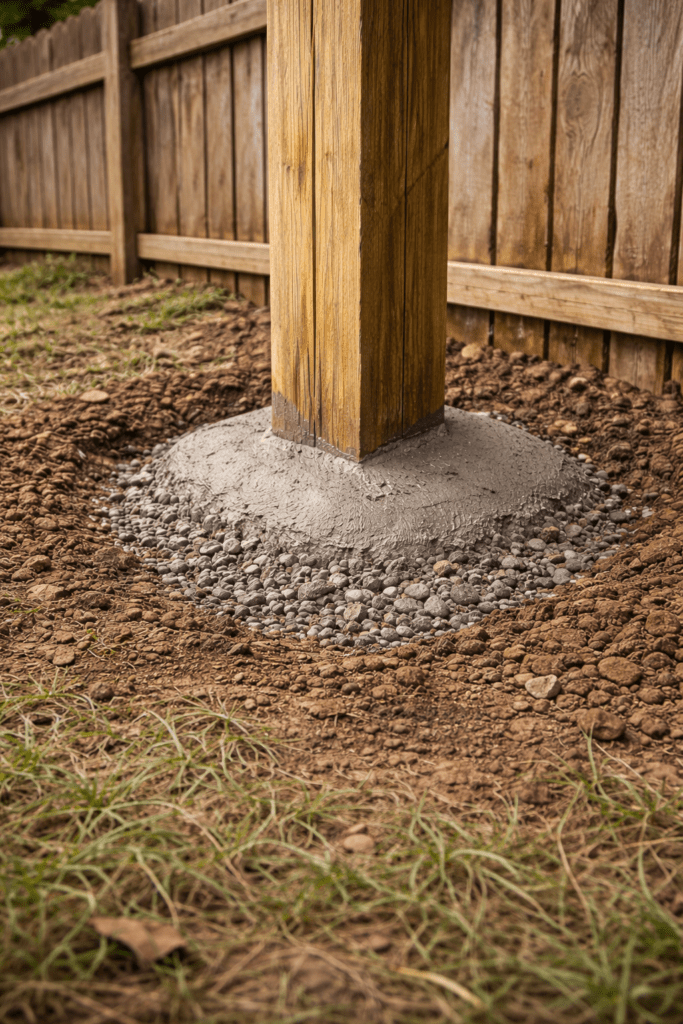
Sealing helps—but installation matters more.
If you really want your posts to last:
- Add 3–6 inches of gravel at the base
- Slope concrete away from the post top
- Avoid trapping water around the post
Trade-Offs (What You Should Know)
Pros of Sealing
- Extends post lifespan (often by years)
- Reduces moisture absorption
- Helps prevent early rot
Cons of Sealing
- Adds time to installation
- Can be messy
- Not a “fix-all” solution
Biggest Risk
If you seal poorly (or only partially), you can:
- Trap moisture inside the wood
- Create uneven protection zones
Realistic Expectations
Let’s keep this grounded:
- Sealing won’t make a post last forever
- It can add several years to its life
- It works best when combined with proper drainage
If you skip sealing entirely, expect:
- Earlier signs of rot
- More maintenance down the line
Time to Complete
- Applying sealer: 15–30 minutes per post
- Drying time: 1–24 hours (depends on product)
👉 Plan ahead—don’t seal right before setting the post.
Product Recommendations (Based on What Works)
- Asphalt fence post sealer (long-term durability)
- Copper wood preservative (deep penetration)
- Pressure-treated posts (ground-contact rated)

Printable Checklist
Fence Post Sealing Checklist
- Chose ground-contact rated pressure-treated post
- Sealed bottom 2–3 feet of post
- Coated end grain thoroughly
- Allowed proper drying time
- Added gravel base for drainage
- Sloped concrete away from post
- Avoided sealing entire post unnecessarily
Frequently Asked Questions
Do pressure-treated posts still need sealing?
Not always—but sealing adds extra protection, especially in wet conditions.
Should I seal posts before or after installing?
Before installation. Once the post is in the ground, you can’t properly protect the buried portion.
Can sealing trap moisture inside the wood?
Yes—if applied incorrectly or unevenly. That’s why full coverage of the base is important.
Is sealing better than using concrete?
They serve different purposes. Concrete stabilizes; sealing protects from moisture. Ideally, use both correctly.
What’s the best way to prevent rot long-term?
Combine:
- Sealing
- Gravel drainage
- Proper installation depth
- Or use post anchors to eliminate ground contact
Resources
International Association of Certified Home Inspectors (InterNACHI)
These explain how moisture intrusion leads to wood decay and structural damage, and why proper installation and drainage are critical.
🛝 U.S. Consumer Product Safety Commission (CPSC)
These provide widely used safety and installation guidelines for outdoor structures, including material durability and proper setup to reduce hazards.
University of California Agriculture & Natural Resources (UC ANR)
These explain how soil type, compaction, and drainage directly affect moisture levels, which in turn impact wood longevity and structural stability.
Final Thoughts
If you’re already putting in the effort to dig holes, mix concrete, and set posts—you might as well do the extra 20 minutes of sealing. It’s one of those small steps that:
- Doesn’t cost much
- Doesn’t take long
- But can save you from replacing posts years earlier than expected
If you want the best outcome:
👉 Seal the base, install it right, and manage moisture.
That’s the combination that actually holds up over time.