
If you’ve ever tried to set a fence post in sandy or loose soil, you know the frustration—it feels solid when you finish, then a few weeks later it starts to wobble like it was never secure in the first place.
I’ve worked on fences in sandy conditions where posts looked perfectly straight on day one… and leaned after the first strong wind. The problem isn’t the post—it’s the soil.
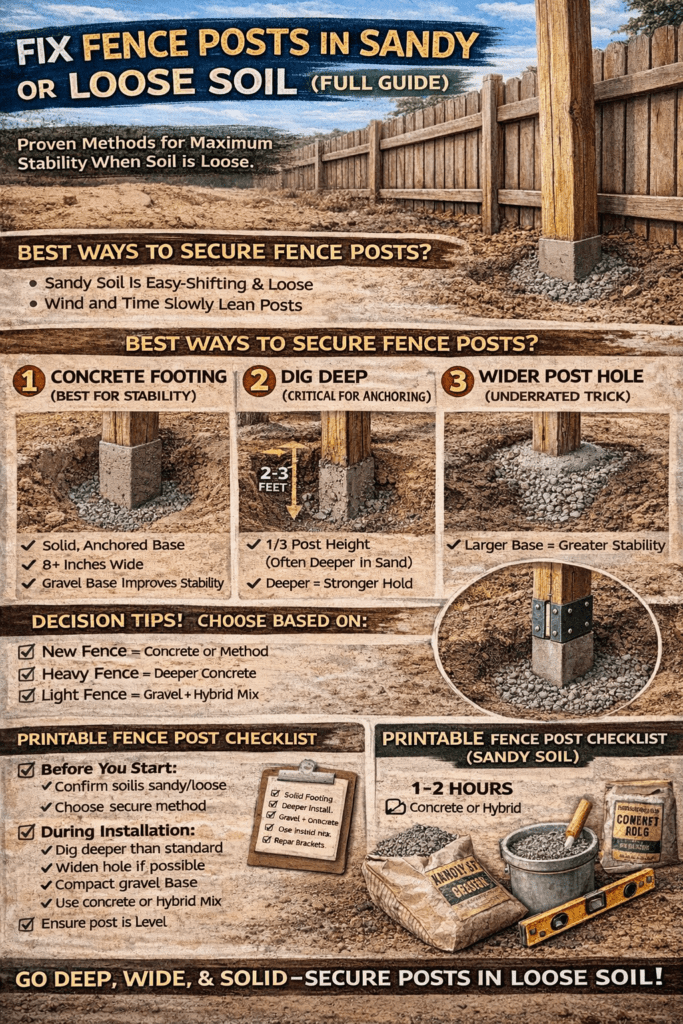
Sandy soil doesn’t hold posts—it lets them move.
So the goal isn’t just to install the post. It’s to create stability where the soil can’t provide it naturally.
Let’s walk through what actually works.
Why Fence Posts Fail in Sandy Soil
Sandy soil behaves very differently than clay or dense ground:
- It drains quickly (good for rot prevention)
- But it lacks cohesion (bad for stability)
- It shifts easily under pressure (wind, weight, movement)
This creates two main problems:
1. Poor Anchoring
The soil doesn’t “grip” the post, so it moves over time.
2. Gradual Leaning
Even small movements compound, especially with wind or heavy fence panels.
👉 See: Top Fence Post Repair Methods
Best Methods for Fixing Fence Posts in Sandy Soil
1. Concrete Footing (Best for Stability)
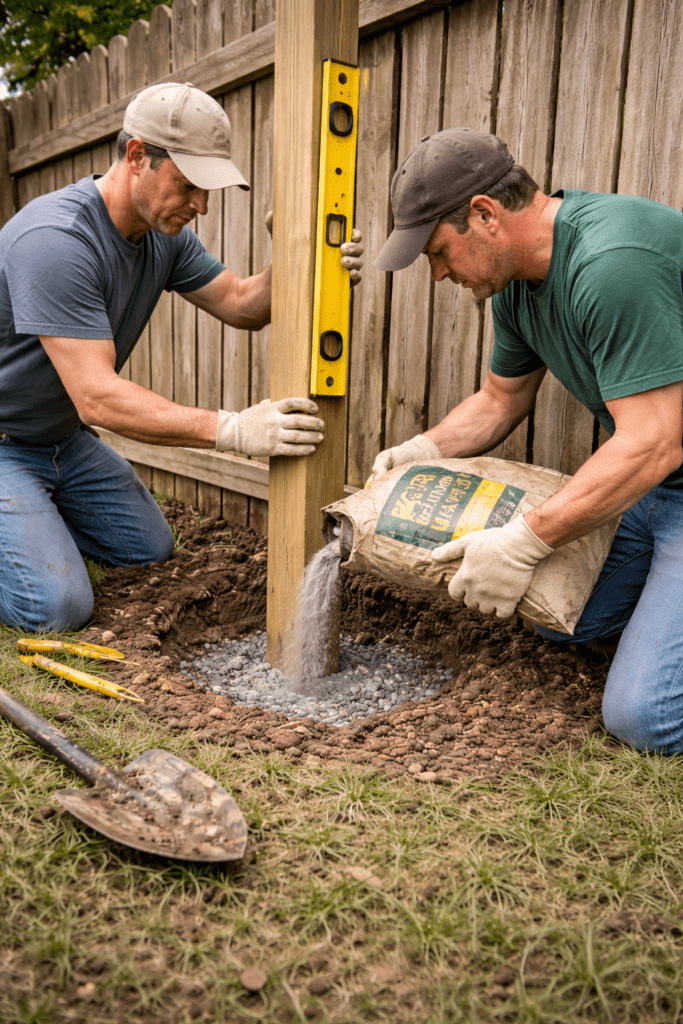
In sandy soil, this is usually your strongest option.
Why it works:
- Creates a solid anchor independent of the soil
- Prevents shifting and leaning
How to do it right:
- Dig deeper than usual (at least 1/3 post height)
- Add a gravel base first
- Pour concrete around the post
- Slope the top away from the post
👉 See: Concrete vs No-Concrete Fence Post Repair
Time to complete: 1–2 hours + cure time
Trade-offs:
- ✅ Maximum stability
- ❌ Harder to adjust later
2. Deeper Installation (Critical in Loose Soil)
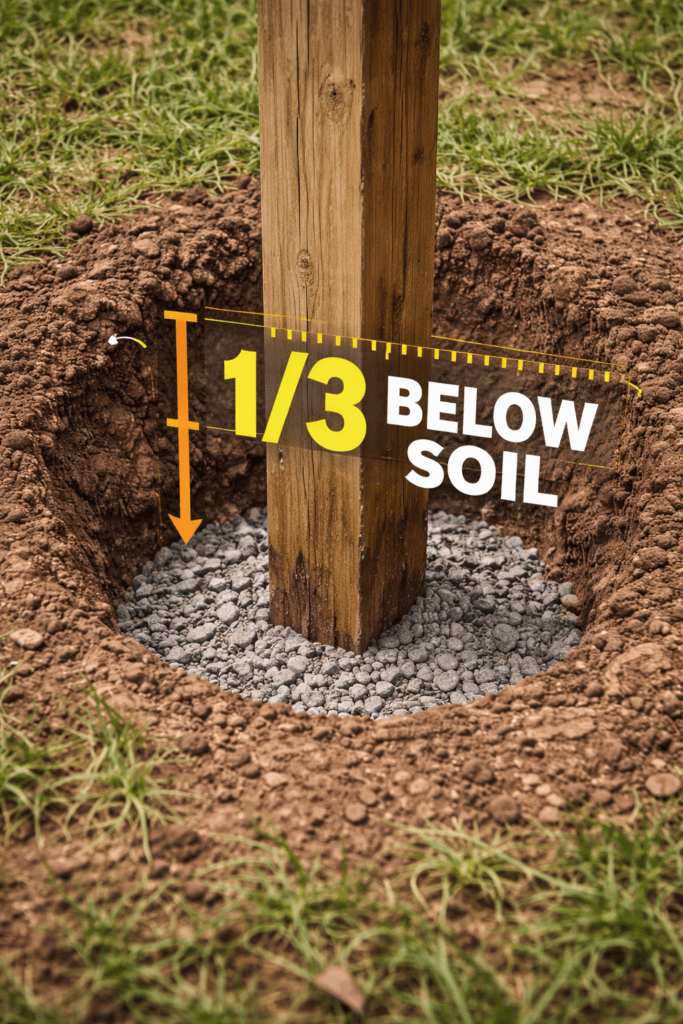
Depth matters more in sandy soil than almost anywhere else.
Rule:
- Minimum 1/3 of post height underground
- In loose sand, go even deeper if possible
Why it works:
- More surface area = more resistance to movement
3. Wider Post Hole (Underrated Trick)
This is a simple but powerful adjustment.
- Dig a wider hole than usual
- Fill with concrete or compacted gravel
Result:
- Larger base = greater stability
- Reduces shifting over time
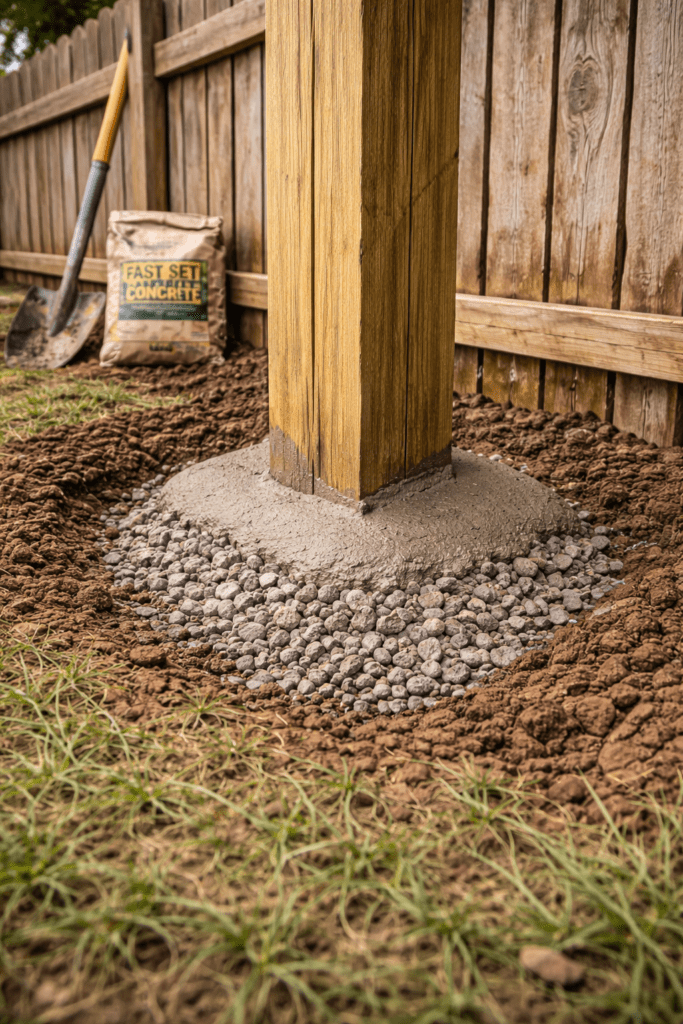
4. Gravel + Concrete Hybrid
This gives you both drainage and strength.
How it works:
- Gravel base for drainage
- Concrete upper section for stability
👉 See: Fence Post Installation Tips
Time to complete: 1–2 hours
Trade-offs:
- ✅ Balanced approach
- ❌ Slightly more effort
5. Post Repair Brackets (Best for Existing Posts)
If your posts are already installed and leaning:
Why this works:
- Anchors the post independently of loose soil
- Avoids digging
👉 See: Kits for DIY Fence Repair
Time to complete: 1–2 hours
Trade-offs:
- ✅ Fast fix
- ❌ Visible hardware
What NOT to Do in Sandy Soil
This is where people lose time and money:
- ❌ Don’t rely on soil-only backfill
- ❌ Don’t skip depth requirements
- ❌ Don’t assume drainage = stability
- ❌ Don’t use shallow concrete plugs
Sandy soil will expose shortcuts quickly.
Decision Guidance (Simple Approach)
If you want a quick decision framework:
- New fence → Concrete or hybrid method
- Leaning post → Repair bracket or reset with concrete
- Light fence → Gravel + deep install may work
- Heavy fence/gate → Concrete is a must
Trade-Offs and Risks
| Method | Strength | Flexibility | Risk |
|---|---|---|---|
| Concrete | High | Low | Hard to adjust |
| Gravel Only | Low–Moderate | High | Movement |
| Hybrid | High | Moderate | Slight complexity |
| Brackets | High | High | Aesthetic impact |
Realistic Expectations
Let’s be honest—sandy soil requires more effort upfront.
- Poor installs may fail in months
- Proper installs can last 10–15+ years
- Movement is always possible—but manageable
The goal is to reduce movement enough that your fence stays straight long-term.
Printable Fence Post Checklist (Sandy Soil)

Before You Start:
- Confirm soil is sandy/loose
- Choose installation method
- Gather materials
During Installation:
- Dig deeper than standard
- Widen hole if possible
- Add gravel base
- Use concrete or hybrid method
- Ensure post is level
After Installation:
- Allow proper cure time
- Check stability after wind/rain
- Inspect periodically
Time to Complete
- Per post: 1–2 hours
- With concrete curing: 24 hours total time
Product Recommendations
- Fast-setting concrete (for quick installs)
- Crushed gravel (for base drainage)
- Pressure-treated posts (ground-contact rated)
- Steel repair brackets
👉 See: Compare Top Fence Post Repair Kits
Frequently Asked Questions
Is sandy soil bad for fence posts?
Yes—because it doesn’t hold posts firmly, leading to movement and leaning.
Do I need concrete for fence posts in sand?
In most cases, yes. It provides the stability the soil cannot.
How deep should posts be in sandy soil?
At least 1/3 of the post height, often deeper for better anchoring.
Can gravel alone hold a fence post in sand?
Sometimes, but it’s usually not strong enough for long-term stability.
What’s the best fix for a leaning post in sand?
Concrete reset or a repair bracket are the most effective options.
Resources for More Information
- International Society of Arboriculture (ISA): https://www.isa-arbor.com
- U.S. Consumer Product Safety Commission (CPSC): https://www.cpsc.gov
- USDA Natural Resources Conservation Service: https://www.nrcs.usda.gov
Conclusion
Sandy soil doesn’t have to be a nightmare—but it does require a different approach.
The key takeaway:
You can’t rely on the soil—so you have to create your own stability.
If you build with depth, width, and proper anchoring, your fence won’t just stand up—it’ll stay that way.