
If you’ve ever stood over a loose fence post with a bag of concrete in one hand and a pile of gravel in the other, you’ve probably asked yourself: Do I really need concrete here?
It’s a fair question—and honestly, this is where a lot of fence repairs go wrong.
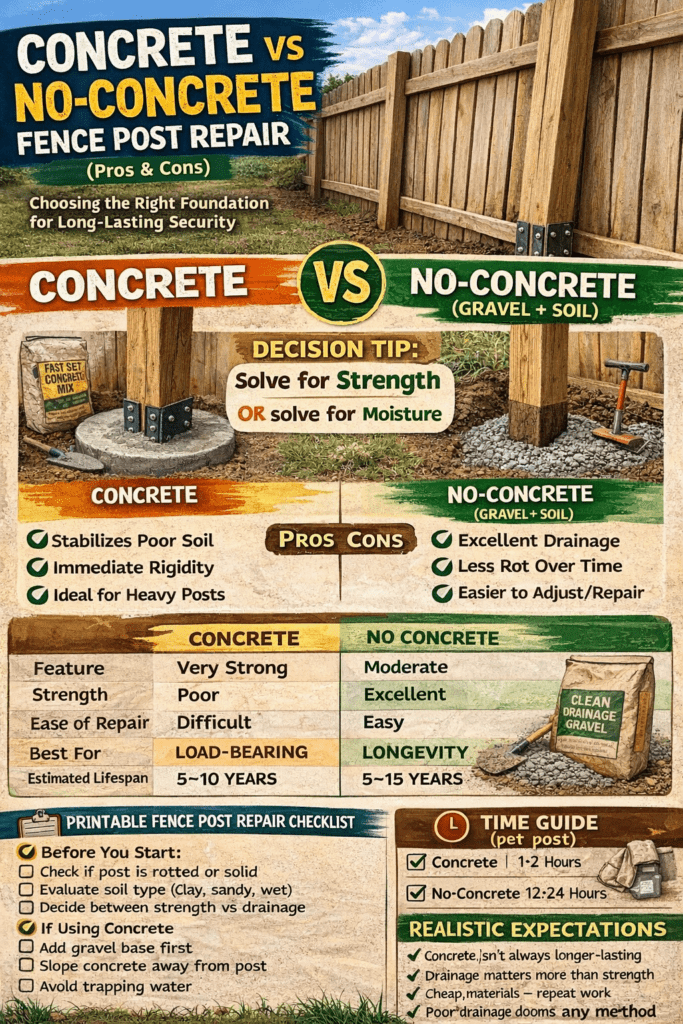
I’ve used both methods plenty of times, and here’s the reality:
Concrete isn’t always better. In some cases, it actually shortens the life of your fence post.
Let’s break this down so you can make the right decision based on your situation—not just what “feels” stronger.
The Core Difference (Simple Explanation)
- Concrete = rigidity and immediate strength
- No concrete (gravel + soil) = drainage and long-term durability
What you’re really choosing between is strength vs moisture control.
And since most fence failures are caused by moisture… this decision matters more than people think.
Concrete Fence Post Repair
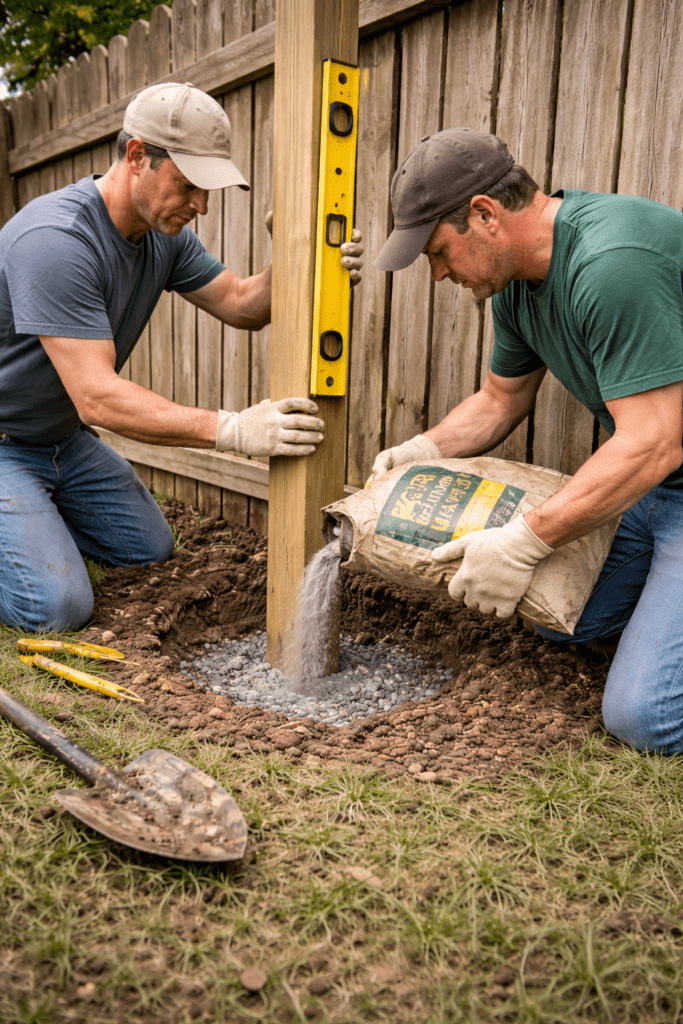
When Concrete Makes Sense
Concrete works best when you need a rock-solid, immovable post.
Best for:
- High-wind areas
- Heavy fence panels or gates
- Sandy or loose soil
- Posts that need maximum rigidity
👉 See: Fence Post Installation Guide
https://www.fencepostfix.com/install-fence-post/
Pros of Using Concrete
- ✅ Strong and stable immediately
- ✅ Prevents shifting in loose soil
- ✅ Great for load-bearing posts
Cons of Using Concrete
- ❌ Traps moisture around the post
- ❌ Can accelerate rot at ground level
- ❌ Harder to repair or adjust later
Here’s the issue most people miss:
Water runs down the post and gets trapped where the concrete meets the wood. That’s exactly where rot starts.
👉 See: Why Fence Posts Rot (And How to Prevent It)
https://www.fencepostfix.com/why-fence-posts-rot/
Time to Complete (Concrete Method)
- Prep and set: 1–2 hours
- Cure time: 12–24 hours
No-Concrete Fence Post Repair (Gravel + Soil)
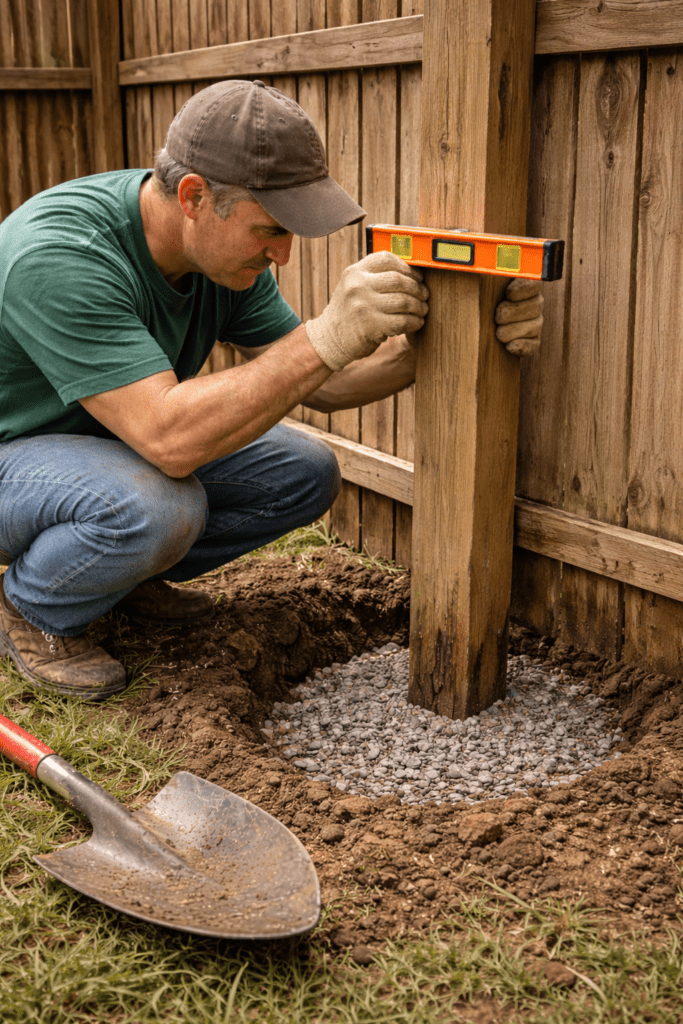
This method doesn’t get enough credit—but it’s often the smarter long-term choice.
When No-Concrete Is Better
Best for:
- Clay or moisture-heavy soil
- Standard residential fences
- Situations where drainage is critical
- Repairs where you want longevity over brute strength
👉 See: How to Reset a Fence Post Without Replacing It
https://www.fencepostfix.com/reset-fence-post/
Pros of No-Concrete Method
- ✅ Excellent drainage (prevents rot)
- ✅ Easier to adjust or repair later
- ✅ Often longer lifespan in wet conditions
Cons of No-Concrete Method
- ❌ Slightly less rigid than concrete
- ❌ Requires proper compaction
- ❌ Not ideal for heavy loads or gates
Time to Complete (No Concrete)
- Total time: 1–2 hours
- No cure time required
Head-to-Head Comparison
| Feature | Concrete | No Concrete (Gravel + Soil) |
|---|---|---|
| Strength | Very high | Moderate |
| Drainage | Poor | Excellent |
| Rot Risk | Higher | Lower |
| Ease of Repair | Difficult | Easy |
| Best For | Heavy loads | Long-term durability |
| Lifespan | 5–10 years | 5–15 years |
Decision Guidance (What I Actually Recommend)
If you want a simple way to decide:
- Wet soil or rot concerns → Skip concrete
- Heavy gate or high wind → Use concrete
- Standard backyard fence → Gravel + soil is usually better
Most homeowners default to concrete—but in many cases, that’s not the best move.
Realistic Expectations
Here’s what people don’t always tell you:
- Concrete doesn’t guarantee longer life
- Drainage is more important than strength
- A perfectly installed gravel base can outlast concrete
- Poor installation matters more than the material you choose
If your posts keep failing, it’s almost always a water problem—not a strength problem.
Printable Fence Post Repair Checklist

Before You Start:
- Check if post is rotted or solid
- Evaluate soil type (clay, sandy, wet)
- Decide between strength vs drainage
If Using Concrete:
- Add gravel base first
- Slope concrete away from post
- Avoid trapping water
If Using No Concrete:
- Add 2–4 inches of gravel base
- Backfill in layers
- Compact thoroughly
After Installation:
- Check alignment with level
- Inspect after first rain
Product Recommendations
- Crushed gravel (¾” for best drainage)
- Fast-setting concrete (for quick installs)
- Post level tool (for accuracy)
- Steel repair brackets (for reinforcement without digging)
👉 See: Best Fence Post Repair Kits (Budget to Pro)
https://www.fencepostfix.com/compare-fence-post-fixings/
Frequently Asked Questions
Is concrete necessary for fence posts?
No. Many fences perform better long-term without it, especially in wet conditions.
Why does concrete cause fence posts to rot?
It traps moisture where the wood meets the concrete, creating ideal conditions for decay.
Is gravel really strong enough to hold a fence post?
Yes—if compacted properly, it provides excellent stability and better drainage.
Which method lasts longer?
In many cases, gravel + soil lasts longer because it reduces moisture exposure.
Can I mix both methods?
Yes. A common approach is gravel at the base with a small amount of concrete at the top—just make sure water can still drain.
Resources for More Information
- International Society of Arboriculture (ISA): https://www.isa-arbor.com
- U.S. Consumer Product Safety Commission (CPSC): https://www.cpsc.gov
Conclusion
The choice between concrete and no concrete comes down to one thing:
Are you solving for strength—or solving for moisture?
If you get that right, your fence repair will last years instead of becoming a repeat project.
And if you remember nothing else, remember this:
Water is what destroys fence posts—not a lack of concrete.