
If you’ve ever installed a fence in wet or clay-heavy soil, you already know the problem: everything looks great for a year or two… then the posts start leaning, softening, and eventually failing right at ground level.
I’ve dealt with a lot of these situations, especially in areas where water just doesn’t drain well. And here’s the honest truth:
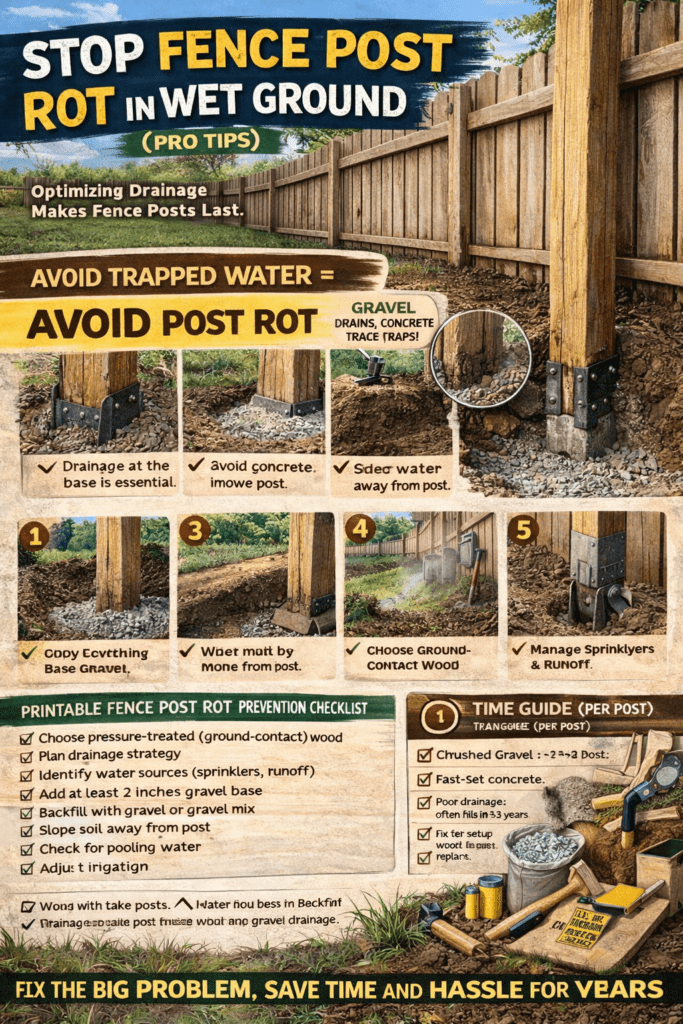
Wet ground doesn’t ruin fence posts—poor drainage does.
Once you understand that, you can build (or repair) your fence in a way that actually lasts.
Let’s go step by step through what works—and what doesn’t—when you’re dealing with wet conditions.
Why Wet Ground Causes Fence Post Failure
It’s not just “water”—it’s trapped water.
In wet soil:
- Moisture stays in constant contact with the wood
- Oxygen + moisture = decay fungi
- Soil holds water against the post
- Freeze/thaw cycles accelerate breakdown
👉 See: Why Fence Posts Rot (And How to Prevent It)
The goal isn’t to eliminate water—you can’t.
The goal is to control where it goes.
Best Methods to Prevent Rot in Wet Ground
1. Start with a Gravel Base (Non-Negotiable)
If you skip this, everything else matters less.
What to do:
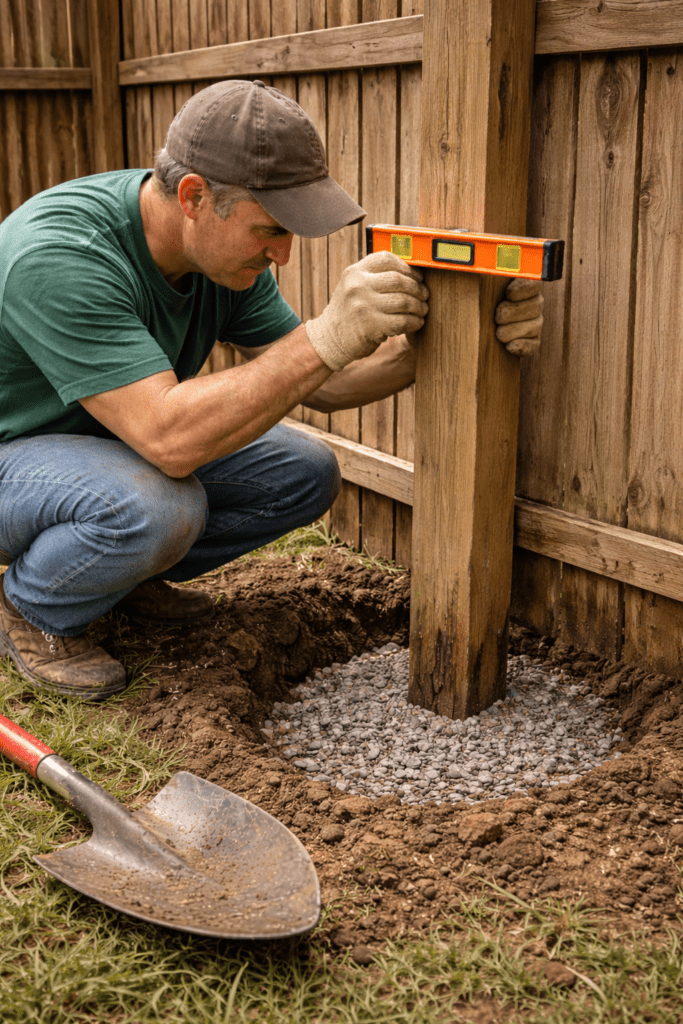
- Add 2–4 inches of crushed gravel at the bottom of the hole
- Compact it firmly
Why it works:
- Creates drainage below the post
- Prevents water from pooling at the base
👉 See: Fence Post Installation Guide
Time to complete: 10–15 minutes per post
2. Use Gravel Backfill Instead of Full Concrete
This is where most people get it wrong.
Concrete seems stronger—but in wet soil, it often traps water.
Better approach:
- Backfill with gravel or a gravel/soil mix
- Compact in layers
Result:
- Water drains away instead of sitting against the wood
👉 See: Concrete vs No-Concrete Fence Post Repair (Pros & Cons)
3. Slope the Surface Away from the Post
This is a small detail that makes a big difference.
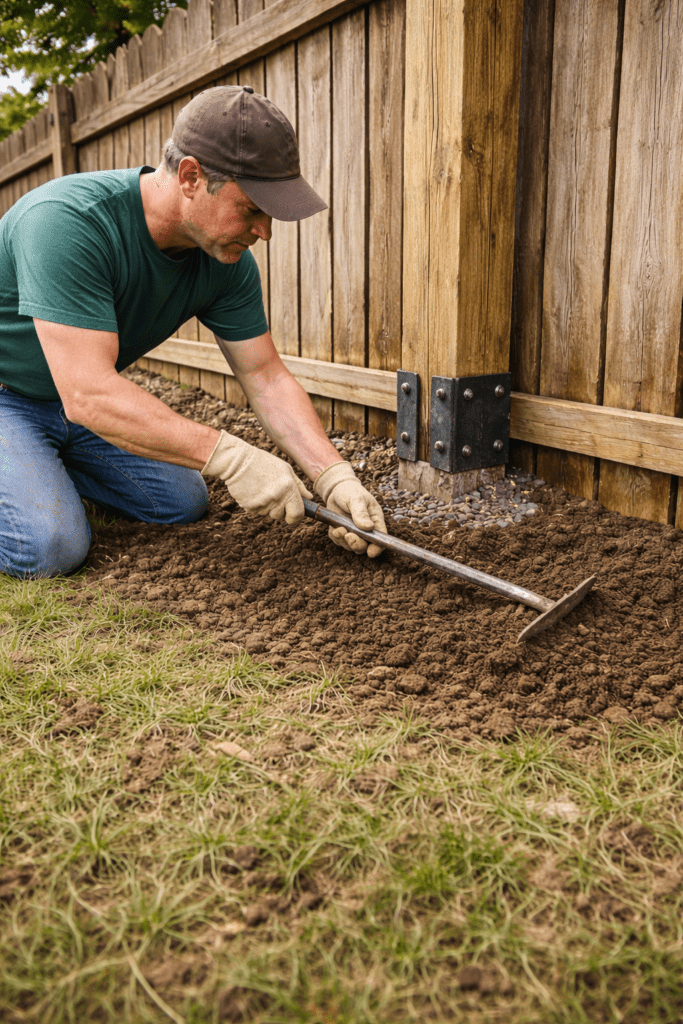
- Slightly mound soil away from the post
- Prevent water from pooling at the surface
Even a small slope helps water shed away instead of soaking in.
4. Choose the Right Type of Wood
Not all posts are built for wet conditions.
Use:
- Pressure-treated posts rated for ground contact
- Or naturally rot-resistant wood (cedar, redwood)
Cheap or untreated wood in wet soil? It won’t last long.
5. Keep Irrigation and Runoff in Check
A lot of rot issues come from things you don’t think about:
- Sprinklers hitting the same spot daily
- Downspouts draining near the fence
- Overwatering nearby landscaping
If the post is constantly wet, even a perfect install will fail early.
6. Consider Elevating the Post Base (Advanced Option)
In extremely wet areas, you can go a step further:
- Use metal post anchors set in concrete
- Keep the wood slightly above soil level
This removes direct soil contact entirely—but adds cost and complexity.
Decision Guidance (What I Recommend in Wet Soil)
If you want the simplest, most effective approach:
- Gravel base + gravel backfill = best overall
- Avoid fully encasing posts in concrete
- Focus on drainage over strength
👉 See: Fence Post Repair Methods Comparison
Most failures in wet ground aren’t because the post wasn’t strong enough—it’s because water had nowhere to go.
Trade-Offs and Risks
| Approach | Benefit | Risk |
|---|---|---|
| Gravel Base | Best drainage | Requires proper compaction |
| Concrete | Strong support | Traps moisture |
| Elevated Anchor | Maximum protection | Higher cost |
| Cheap Wood | Lower cost | Rapid failure |
The biggest risk?
Doing a “strong” install that traps water.
Realistic Expectations
Even with perfect technique:
- Posts in wet soil last 10–15 years (best case)
- Poor drainage installs may fail in 3–5 years
- Maintenance and environment matter just as much as installation
If your yard stays wet year-round, plan accordingly.
Printable Fence Post Rot Prevention Checklist

Before Installation:
- Choose pressure-treated (ground-contact) wood
- Plan drainage strategy
- Identify water sources (sprinklers, runoff)
During Installation:
- Add 2–4 inches of gravel base
- Set proper depth (1/3 of post height)
- Backfill with gravel or gravel mix
- Slope soil away from post
After Installation:
- Check for pooling water
- Adjust irrigation if needed
- Inspect annually
Time to Complete
- Per post: 1–2 hours
- Full fence line: depends on length, but typically a weekend project
Product Recommendations
- Crushed gravel (¾” size for drainage)
- Ground-contact pressure-treated posts
- Post level tool (for accurate alignment)
- Steel repair brackets (for extending life of existing posts)
👉 See: Best Fence Post Repair Kits (Budget to Pro)
Frequently Asked Questions
What is the best way to prevent fence posts from rotting in wet ground?
Use a gravel base and backfill for proper drainage—this is the most effective method.
Is concrete bad for fence posts in wet soil?
It can be. If it traps water, it accelerates rot at the base.
How long will fence posts last in wet ground?
Typically 10–15 years with proper installation and drainage.
Should I use gravel or concrete in clay soil?
Gravel is usually better because clay holds water and needs improved drainage.
Can I protect existing posts in wet areas?
Yes—improving drainage and adding repair brackets can extend their lifespan.
Resources for More Information
- International Society of Arboriculture (ISA): https://www.isa-arbor.com
- U.S. Consumer Product Safety Commission (CPSC): https://www.cpsc.gov
Conclusion
Preventing fence post rot in wet ground isn’t about fighting water—it’s about managing it.
If you focus on drainage, proper materials, and smart installation, you can get years—sometimes decades—out of your fence posts, even in tough conditions.
The key takeaway:
Don’t trap water. Give it somewhere to go—and your fence will last.